Go EDI
Where EDI documents are designed. You build a schema from a published structure or a sample file, design a form over it so people only see the fields they need, and each completed form is a record that generates an EDI document.
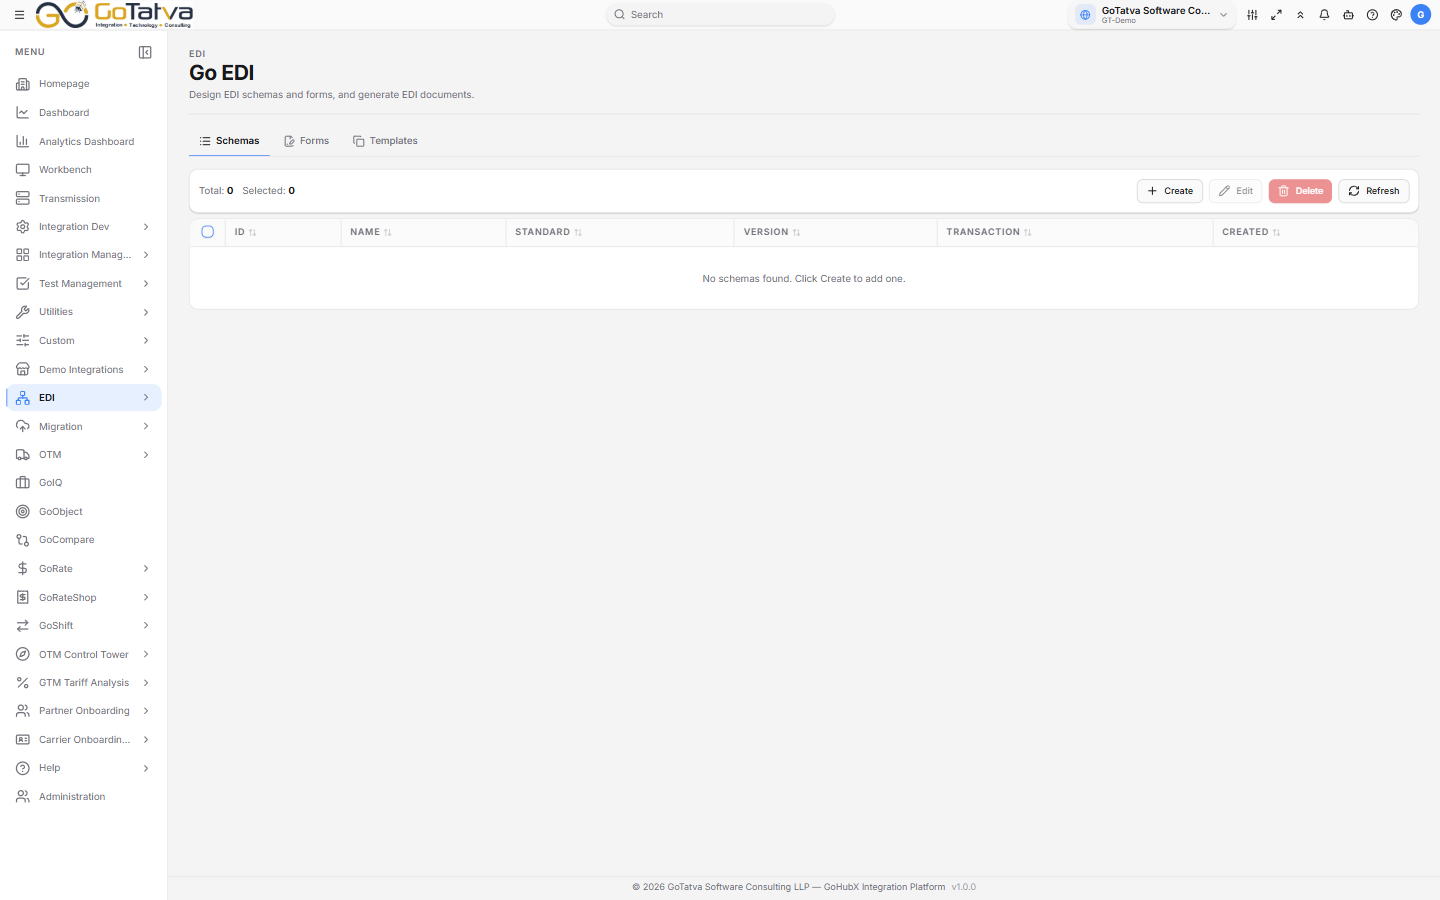
Three permanent tabs: Schemas, Forms and Templates.
1. Schemas
Create opens the schema builder. Two ways to start:
- Manual Selection - pick the standard, version and transaction, then Submit, exactly as in EDI Explorer.
- Upload EDI File - drop in a sample
.edi,.txtor.x12file and the structure is read from it. X12 files startISA; EDIFACT files startUNAorUNB.
Then mark up the structure. On each segment:
| Setting | Effect |
|---|---|
| Hidden | Keeps the segment out of forms entirely |
| Mandatory | Makes it available to form designers |
| Read Only | Shown but not editable |
Hidden and Read Only cascade to everything beneath them; Mandatory does not.
On each element you can additionally set the Datatype, the Field Type (Text, List, Textarea, Date or Number), List Values for a dropdown, and a Default Value.
A form can only use elements that are Mandatory and not Hidden. A schema with nothing marked Mandatory gives you a form designer with no fields to drag.
Save with the disk icon in the toolbar and give the schema a name.
2. Forms
Open a schema and choose Open Forms, then Create. Forms are built from inside a schema - the global Forms tab lists them all but does not create them.
The designer has three panels:
- Available Elements on the left, grouped by segment, with a search box and a draggable Spacer for laying things out.
- The canvas in the middle. Drag elements in, group them into sections, give each section a title and choose 1 to 4 columns.
- Field Properties on the right: the label, datatype, field type, list values, default, and whether the field is Required, Read Only or Hidden.
Save Form when you are done.
If you see "This form was built on an older schema version", the schema changed underneath it - save the form again to bring it back in line.
3. Records
Open a form's Data tab. Create opens the record editor, with Record Name and Business Flow Name at the top and your designed sections below.
Some fields show greyed with an auto marker - the EDI control numbers, which are worked out when the document is generated. Leave them alone.
Generate EDI builds the document and shows it in a preview with the segment count and any warnings. From there you can Copy it or Download .edi.
Records show as Draft until they have been sent.
4. Templates
A record you will type again and again can be saved with Save as Template. Creating a record then offers From Template, which prefills those values.
Templates are managed on the Templates tab - edit their stored values, or delete them.
Go EDI is the authoring tool. To send a document to a trading partner, use Go EDI-X.