GoObject
GoObject turns OTM database tables into reusable business objects, lets you design forms over them, and then creates or updates OTM records - one at a time, or in bulk from a spreadsheet.
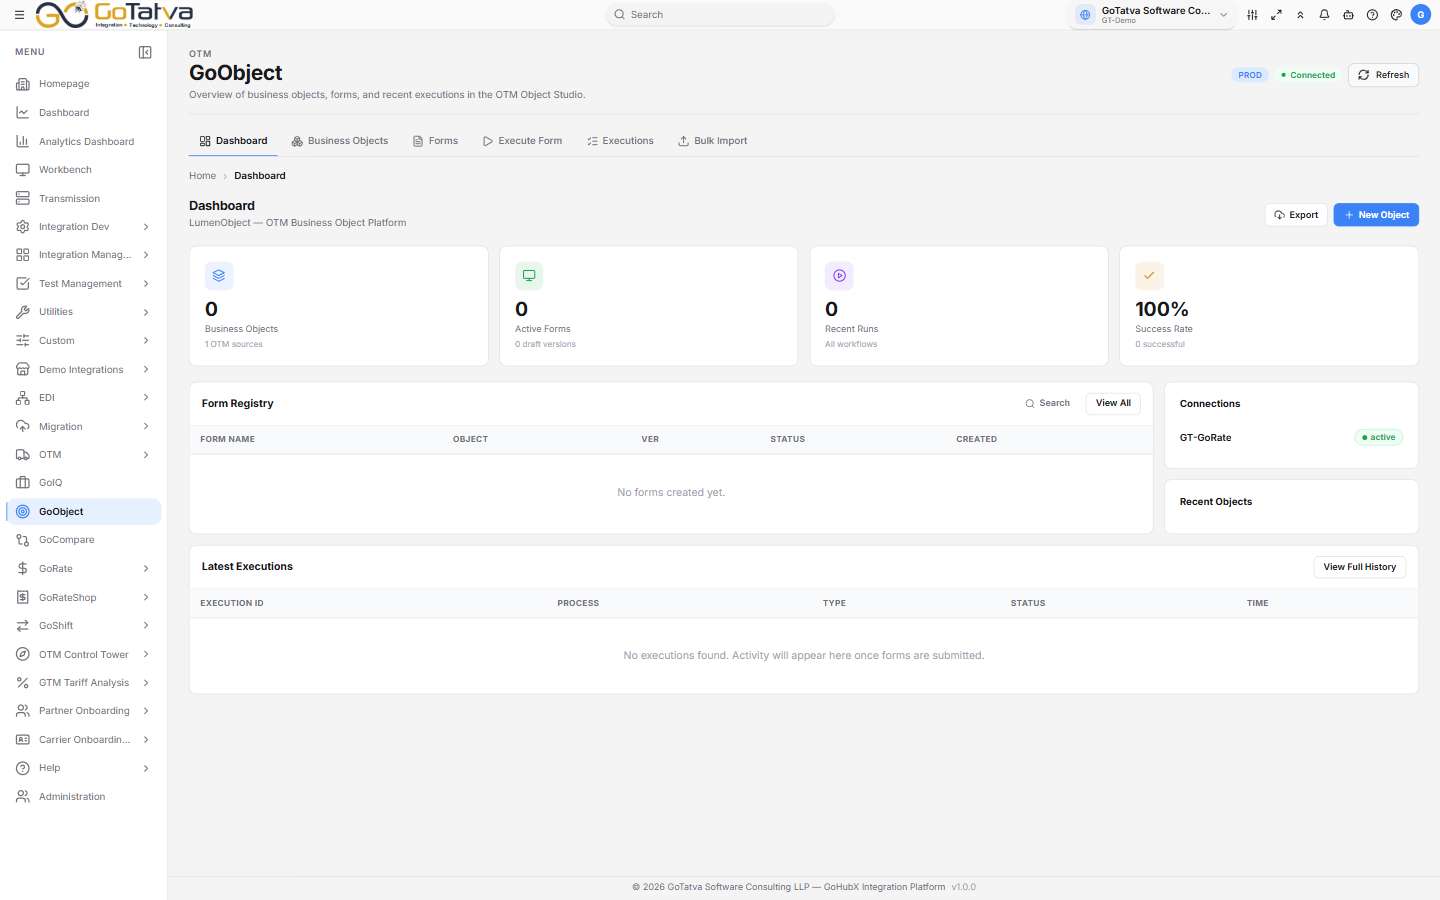
Six sections, worked through in order.
The sections
| Section | What it is for |
|---|---|
| Dashboard | Overview of objects, forms and recent executions |
| Business Objects | Browse objects and drill into their metadata |
| Forms | Design and manage data-entry forms |
| Execute Form | Fill in a form and submit it |
| Executions | Track submissions and bulk runs |
| Bulk Import | Import records from a spreadsheet |
1. Creating a business object
New Object walks through four choices:
- Target OTM Connection
- Primary Oracle Table
- Related Tables
- Business Object Label
Then Ingest & Fetch Metadata. The progress screen works through connecting, introspecting the schema, parsing the objects and caching the metadata.
2. Choosing the fields
Object Metadata lists every field on the object. Tick the ones the object should carry - Required Only and System cols narrow the list, and Select All and Clear work on what is showing.
The right-hand side summarises the tables, the type distribution and your selection. Then Save Object.
3. Designing a form
Forms → New Form takes a base business object and a form name, then opens the designer.
Drag fields from Available Fields onto the canvas, group them into sections with their own titles, and set each field's Field Label, Component Type and Default Value. A section can be marked Multi-Row for repeating data.
AI Generate offers three starting layouts:
| Mode | Produces |
|---|---|
| Essential | Required fields only |
| AI Optimized | A grouped layout suggested for you |
| Full Schema | Every available field |
Whatever it produces is a starting point you then edit.
Preview Layout shows it as users will see it. Publish Form makes it available.
4. Using a form
Execute Form has two tabs:
- Manual Entry - fill the form in. Add Row repeats a multi-row section.
- Excel Upload - Download Template, fill it, upload it, and submit the lot.
On the right, pick the Workflow and Target Environment, then submit. Payload Preview shows exactly what will be sent - worth a look the first time.
The environment selector decides where records are created. Confirm it with your administrator before a first real submission.
5. Checking what happened
Executions lists submissions and bulk runs with their results, and View Logs opens the transaction log and the raw payload for any one of them.
Bulk Import
Bulk Import Studio takes a spreadsheet, maps its columns to OTM fields, and pushes the records through a chosen integration. Mappings can be saved and reused, and the summary tells you what went.