Migration Profiles
A profile is the what of a migration - which OTM tables travel, which columns of them, which rows, and how each table is handled.
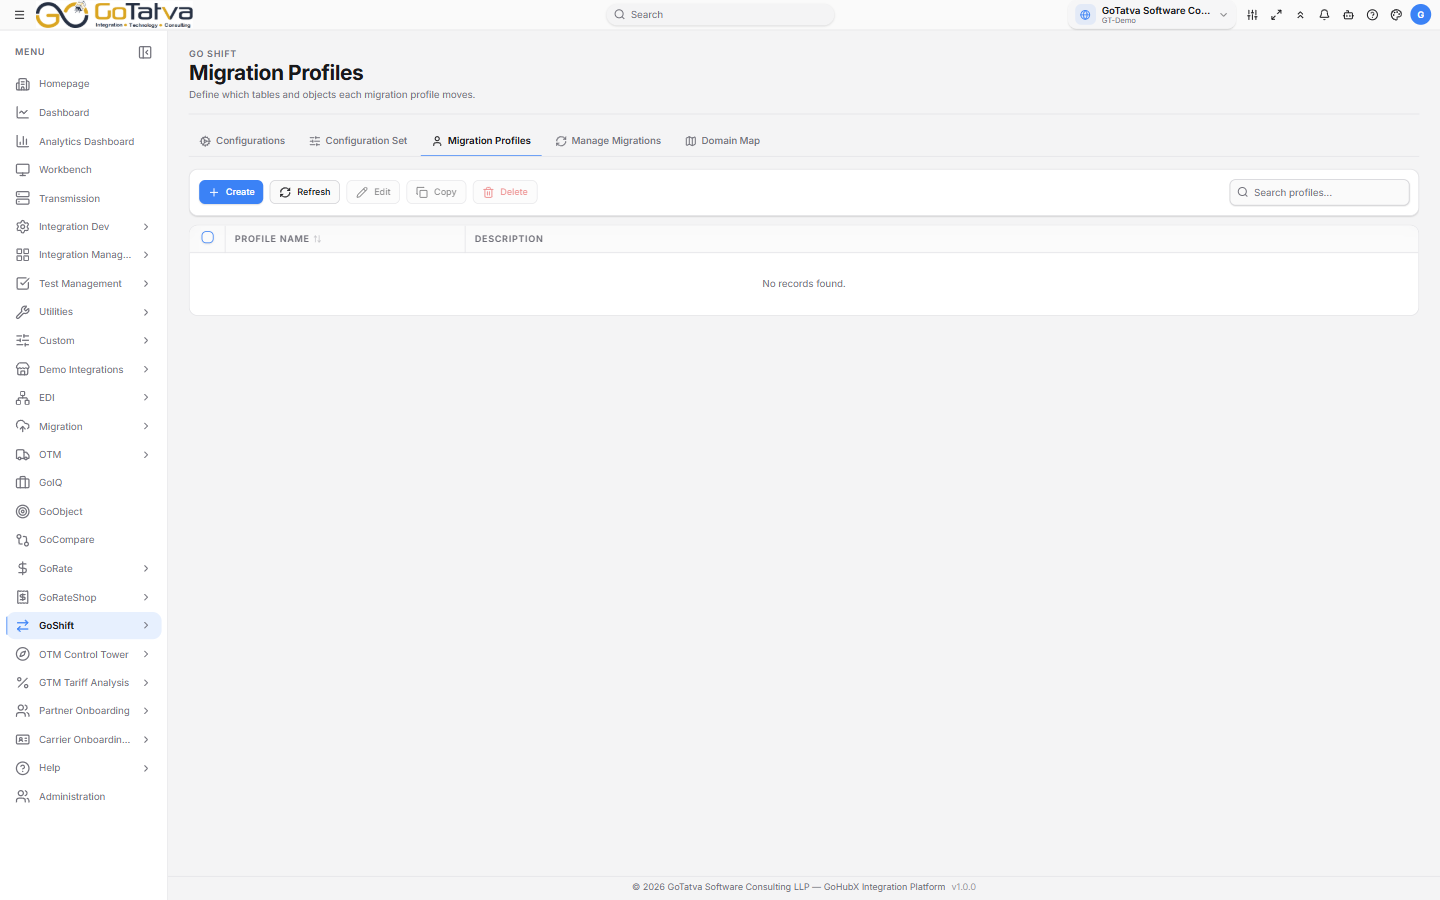
Profiles are built in three steps.
Building a profile
Create opens a three-step form.
1. Profile Header
Profile Name (required, and must be unique), a Description, and Migration Notes for anything the next person should know.
2. Table Configuration
Every OTM table, as a flat list or grouped by category. Tick the ones to include. Tables marked MANDATORY are required and are shown as such.
The list shows, per table: Fetch Size, Transaction Code, Date Filter, whether domain handling is on, how many Cols are selected, and how many Filter rules apply.
Two buttons per row:
Config opens that table's settings:
| Tab | Covers |
|---|---|
| Select Columns | Which columns travel, with their data types |
| Table Filters | Row rules - a column, an operator and a value |
| Settings | Fetch size, transaction code, date filter and domain handling |
Filter operators are =, !=, >, <, >=, <=, LIKE, IN, IS NULL
and IS NOT NULL. The value box disables itself for the two null operators.
Settings covers:
- Fetch Size - ALL, YEARLY, MONTHLY, WEEKLY or DAILY, which decides how the extract is chunked.
- Transaction Code - how rows are applied at the target: No preference, or II, I, IU, U or D.
- DATE Filter - NO FILTER, INSERT, UPDATE or BOTH, so a run can take only what changed.
- Enable Domain Conversion and Domain Field Replace - these use the pairs from Domain Map.
SQL shows the query the settings produce, which is the quickest way to check a filter does what you meant. Copy Code takes it.
3. Profile Summary
Everything you have configured, with a total. Deploy Profile saves it.
Locked profiles
Some profiles are locked. Edit and Delete do nothing on them - if a profile will not open for editing, that is why.
To create a variant, use Create and configure it from scratch. Copying an existing profile does not reliably produce a separate profile.