Onboarding Template
What you ask a carrier for, and how it is laid out.
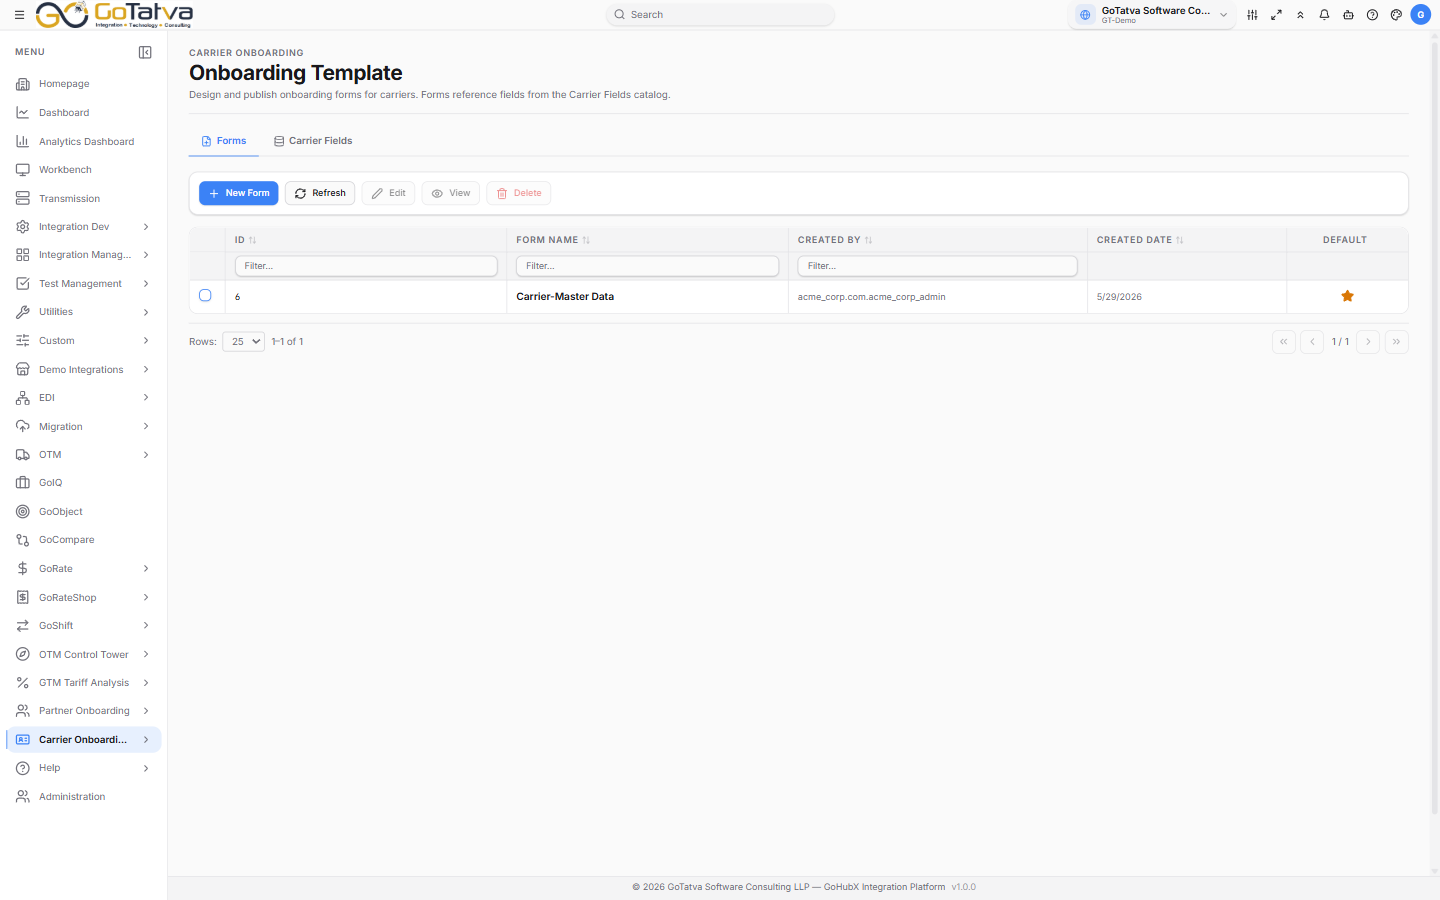
Two tabs: Forms, and the Carrier Fields catalogue they are built from.
Carrier Fields
The reusable questions. Each has a Label, a Key, a Type - TEXT, NUMBER, DATE, SELECT or CHECKBOX - whether it is Required, and its Options where it has them.
Curate this first. A field defined once here can be dropped into any form.
Forms
ID, Form Name, Created By, Created Date and Default.
The star marks the domain's default overview form - the one a carrier record uses on its Overview tab. Click a star to move it.
Designing a form
New Form takes a name, then Start Design → opens the designer.
Three panes: Available Fields on the left - Built-in for a blank input, Catalog for your curated fields - the canvas in the middle, and Properties on the right.
Add Section creates a block with its own title and a COLS setting of 1 to 4. Drag fields into it.
A section can be made repeating, for anything a carrier has several of - lanes, contacts, facilities. It is marked Multi-Row Section.
Select a field to set its Field Label, Component Type - TEXT, NUMBER, DATE, SELECT, MULTI_SELECT or CHECKBOX - its Options, a Default Value, and whether it is Required or hidden.
A multi-select field can track integration details, adding a direction and status against each chosen option - which is how a form captures "EDI inbound, live; AS2 outbound, testing" in one field.
Then Create Form, or Save on an existing one. Ctrl+S works.
MULTI_SELECT exists in the designer but not in the Carrier Fields catalogue - to use it, drop a built-in field onto the canvas and set its type there.